


Lets assume that you have just recently created your first HashNode site, great!
But, now you want to get rid of that "Username.Hashnode.dev" kind of domain and you remember you just happen to have an unused domain in Namecheap.
Here's how to do that:
First, go to namecheap.com and login to your account and go to your Domain List, it's the List that looks like this:
Now you should see a list of all your Namecheap domains, inside that list, click on the 'Manage' button that's on the far right to your domain name.
It looks like this:

Now we are inside your site's configuration options, it's important to have the Nameserver pointing to 'Namecheap BasicDNS'

If you don't have the Nameserver configured like that, please do so, so we can go to the next step, the next step is to go to the 'Advanced DNS' Tab

Here we will create a new Host Record, but first, we need to know exactly what record we need to create, for that, we'll just go to our "Username.Hashnode.dev" blog site and click on the 'Blog Dashboard' Icon, it looks like a little suitcase or toolbox.

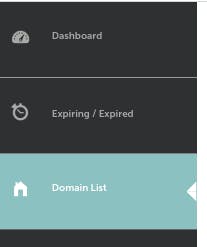
Now we have to go to the Domain option, that's located in the List of options:

It will tell us to input our domain name (with no https:// before it) so Hashnode can map it.
For example i will map Hashnode to an example site called 'mynamecheapdomain.xyz', but remember, you have to input the exact name of your namecheap domain
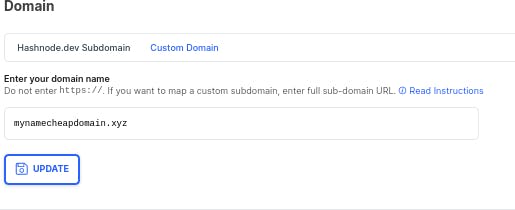
after you typed in your namecheap domain, please click the Update button, it will give you a Record that you need to configure in your Namecheap domain settings. For example, 'mynamecheapdomain.xyz' needs to be configured like this:
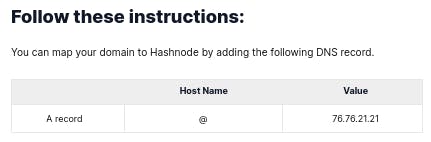
That's telling us that we need to go to Namecheap 'Advanced DNS' Tab, and create a new record with these options: Type of record : 'A RECORD' Host Name: '@' Value: '76.76.21.21'
So we'll do exactly that, we will go back to our Namecheap 'Advanced DNS' Tab, and look for the 'HOST RECORDS' Option. By default, namecheap inserts a record in this option, that points to a website that has a blank template so you can see it's pointing to something, but we will delete that record with the trashbin icon right next to it, now it should be empty like this:
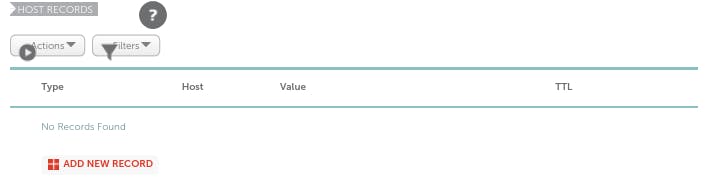
Now all we have to do, is click on the 'ADD NEW RECORD' Button, and configure our record just like hashnode told us to, like this:

the final step is to click on the green checkmark to the right, that will save our record.